Hello Peeps!
A very warm welcome to my tutorial for Simple Sew’s Pleated Wrapover Trench Coat! Now this is my 1st ever Coat and you know what is was really nice to sew and quite easy as long as you read the instructions and not to rush ahead lol!
You can buy the pattern here from Simple Sew directly.
According to my measurements I needed to cut out a Size 10 which I am in other Simple Sew Patterns. But If you wanted to wear this Coat with a Thick Jumper i would recommend going up a size.
As always make sure you launder your fabric prior to you starting to cut your pattern pieces out as this allows for shrinkage as it would be a complete shame not to do this before hand and to make an awesome staple Dress, wear it and love it then to put in the wash where it’ll shrink and the dress would be too small to wear!
First open up the envelope and make yourself a brew and read the instructions and make a list of materials/equipment you need if you don’t have them already so no last minute dash to the local haberdashery store or waiting days for online orders lol!
So remember before starting your sewing on a fabric you haven’t used before use some scraps to make sure you have the right stitch or you could end up ruining some of your lovely fabric.
Construction List:
3.5m of Black 100% Cotton Denim from Whitetree Fabrics
0.5m of Medium Weight Iron on Interfacing
4 x Scraps of Art Gallery Fabric (big enough to get the pocket cut out in one piece)
Thread and Bobbin
Denim Sewing Machine Needle 110/16
Paper Scissors – For cutting Pattern Pieces out as these will blunt and make cutting fabric out quite uneven!
Fabric Scissors/ Rotary Cutter – whatever takes your fancy for cutting your fabric, i use both 🙂
Cutting Mat
Pins
Seam Ripper
French Curve – handy for getting those straight lines whilst cutting out with rotary cutter or to grade in between sizes if your measurements are in between sizes.
Pencil for marking out the pattern of course
Iron and Ironing Board
And last but not least the Trusty Sewing Machine, normal sewing foot
Now then, you can go ahead and cut straight into the paper pattern to the size you require and to make sure you add any nothces/markings onto the fabric then cut out the pieces 🙂
But if you do need to adjust the pattern to fit as you are in between sizes then check out my previous post here where i show you to do it 🙂
Make sure you have plenty of thread in your bobbin as there isn’t anything worse than getting halfway through sewing a long stretch of your garment and to find you have only sewn half of it, trust me this has happened many times LOL
Now then this is a bit different to cut out like I’m used to as the Fabric is opened out and not folded. So you do have to turn some patterns pieces face down for it to construct together properly or you would end up with Wrong Side Fabric showing when piecing together but it does show that on the layout plan of the instructions.
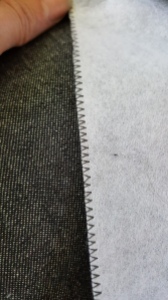
Now to finish the raw outer edges on the Facing pieces. It states in the instructions to finish the Skirt and Sleeve hems but with myself being on the short side, I’ll be altering the length on these so i had left them out for now till later.

Now to apply the interfacing to Front and Back Facings,
With ironing Interfacing you have to be careful not to scorch your fabric but also for it to be hot enough to fuse the Interfacing to the Fabric. So what i tend to do is to use a tea towel over my fabric and Interfacing and gently steam on top. When applying Interfacing you always apply it to the wrong side of your fabric.
Now to Sew in your Darts in the front Bodice Pieces,
A handy tip for the Darts is that I put a pin through the paper and Fabric then gently pull away the paper to leave the pin in the fabric then match up the lines to the bottom of the dart where i had made a notch with Tailors Chalk for ease of sewing.
Now with Darts i tend to start from where the Dart ends so its easier to keep that perfect sewn line just to remember don’t back stitch here just tie the ends together as this prevents the dart looking bulky not a good look to have Madonna style points LOL! But back stitch at the end of the dart (the widest bit) to secure.
Then repeat for the other side of the Front Bodice and then press both Darts downwards.
Join the Front and Back Bodice with the Right Sides Together and Sew along the Shoulders and Side Seams of the Bodices. Then Zig Zag Stitch to neaten the seams and then press the seams open.
Now that’s the Bodice made, now onto the Skirt!
Join the Back Skirts Together with Right Sides Together at the Centre Back Seam. Finish the Seams and Press.
Onto the Pockets! Yay!
You will have 2 pairs of Pocket Pieces ( 4 pieces in total). So attach the bottom Pocket piece to the Back Skirt piece at each side. If you need assistance of where the pockets need to go remember to mark on the skirt piece with tailors chalk and notches.
Now onto the Front Skirt Pieces, we are going to mark in the pleats along the Skirt Waist. I cut little notches to help then pinning in place.
Now i set my Sewing Machine to a longer stitch to tack the pleats in till i sew the Skirt and Bodice together where I’ll take the them out after the Press the Pleats.
As you did with the Back Skirt, attach the top pocket pieces to the front of the Skirt, again making sure they align perfectly with the bottom Pocket pieces.
Now stitch from the top of the Skirt to the top of the pocket opening remember to Back Stitch to secure. Then start stitching again from the bottom of the pocket opening all the way along down to the hem. Finish the Seams and Press.
Sew along the way around the curve of the Pocket then finish the Seam.
Now the Skirt should look like this and the pockets are on the wrong side of the Skirt like a pocket should be 🙂
With Right Sides Together, sew the Bodice and Skirt together matching the Side Seams and Middle Back Seam. Finish the Seams and Press. So when its turned out the Right Side it should look like this. Now this is the time to get rid of the tacking stitches that we made earlier 🙂
Now onto the Facings, With Right Side Together join the back neck facing to the front facing and repeat for the other side with 1cm Seam Allowance . Finish the Seams and Press.
With Right Sides Together, pin the Facing onto the Coat and Pin in place and sew with 1cm Seam Allowance all the way round, starting at the bottom hem to the other. Press the Seams open and then turn the Facing to the Inside of the Coat and press Flat. Remember to take care when coming to the corner of the front facing remember to stop 1cm away from the edge whilst the needle is in the fabric then turn the fabric to continue on with the rest of the facing 🙂
Now to keep them pesky Facings in place, I’d Stitch the Ditch! Basically I pinned the Facing to the Coat itself and then stitched in the Seam so the stitches can’t been seen and it gives the Facings a better appearance too 🙂 I put a pin at the end of the facing so i know where to finish my Stitching in the Ditch!
Onto the sleeves!! We are nearly there!!
Now to make the Gather for the top sleeve to fit the armhole. I used a longer stitch (basically a tack stitch) at the points where marked on the pattern piece and make sure you don’t back stitch at either end and to leave enough thread to pull it gently to make it gather.
With Right Sides Together, attach the undersleeve to the top sleeve, Finish the Seams and Press. I’ve used a 1cm Seam Allowance as my arms aren’t that skinny with shifting loads of heavy stuff at work ;). Attach the other side of the undersleeve to remaining side of the top sleeve Right Side Together.
Repeat for the other sleeve.
Fit the Sleeve Head into the Armhole with Right Sides Together so that your Sleeve is inside the Coat itself. Pin in place and Sew. Then take out the Tack stitches with the trusty Seam Ripper and finish the Seams and Press.
Try the Coat on as in my case i had to take off 4 inches of the length of the sleeve to fit my short arms!!! Hahahaha!
Woo hoo nearly there now onto making the Belt and Loops!!
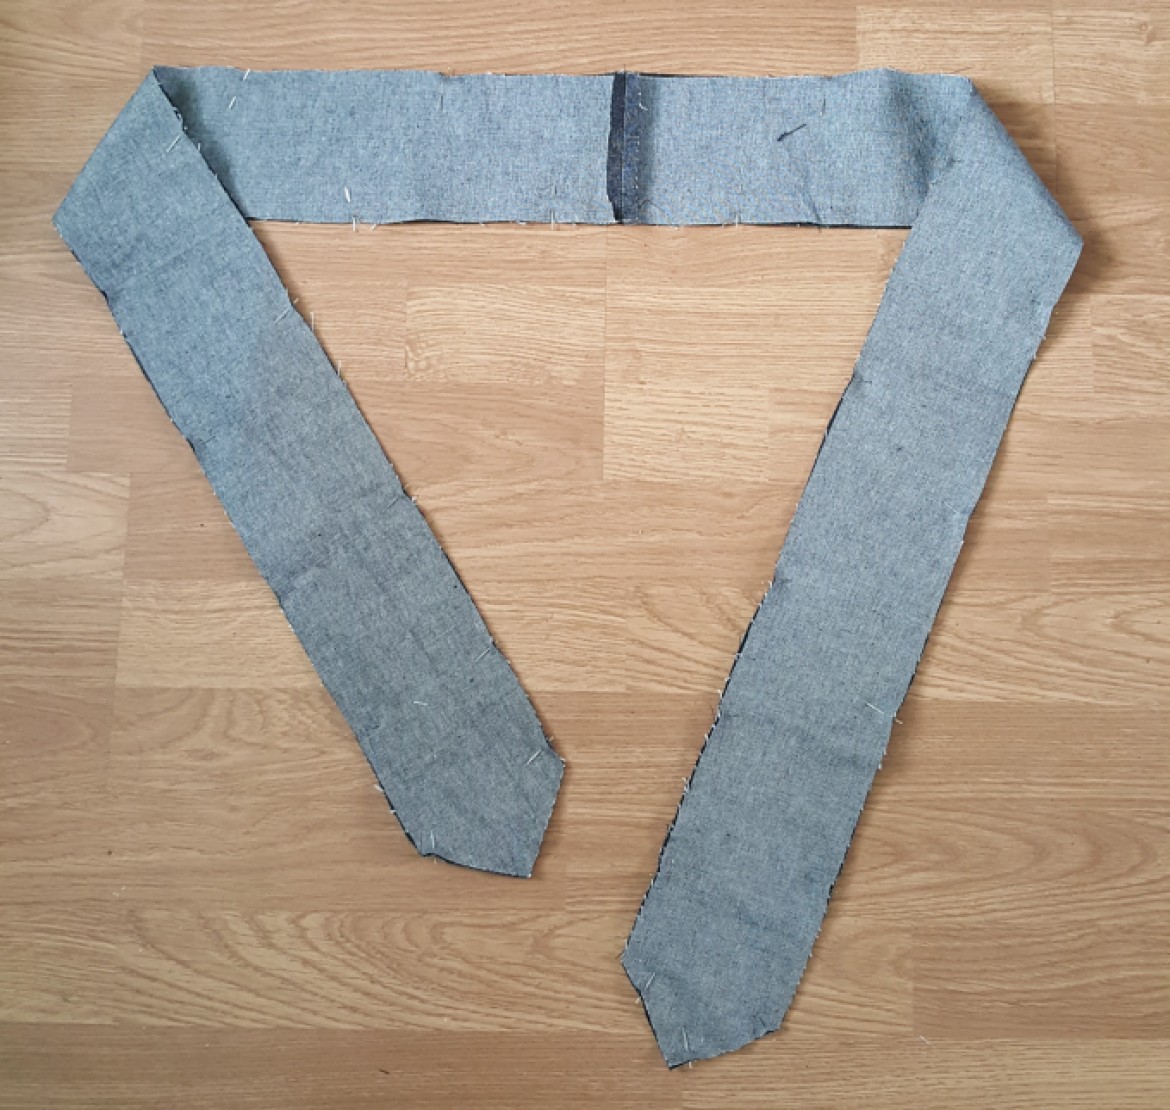
Now with the belt you need 4 pieces of the Belt. With Right Sides Together sew 2 of the pieces together to make it one length and repeat for the other 2 pieces.
With Right Sides Together, join the belt pieces together. Pin together but to remember to leave a gap big enough for you to turn the belt out. Sew together and turn right side out and Press.

Now to Slip Stitch the opening. Start by starting to sew from the inside of the gap so that the knot is hidden. and carefully catch both sides of the fabric and repeat all the way down the gap. Finish with a knot and there you go you can’t see them!! Boom!
For the Belt Loops you should 3 strips of fabric, carefully press down the edges and top stitch in place.
Now with the 3 Loops i placed them at the side seams and Back Seam. Pin them in place and machine stitch if your confident or hand stitch. I took my time and machine stitched mine.
Now try the coat to see if your happy with the length of the Coat. I took off 6 Inches as again I’m only small and having a too long of a coat does me no favours!! I had turned up my hem by 1.5cm pressed and pinned the sewn all the way round.
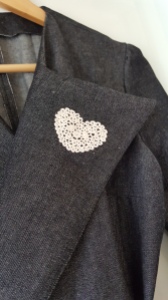
Of course I couldn’t help myself to add a little bit of embellishment on the Coat Collar by adding a Cream Crochet Heart from my stash.

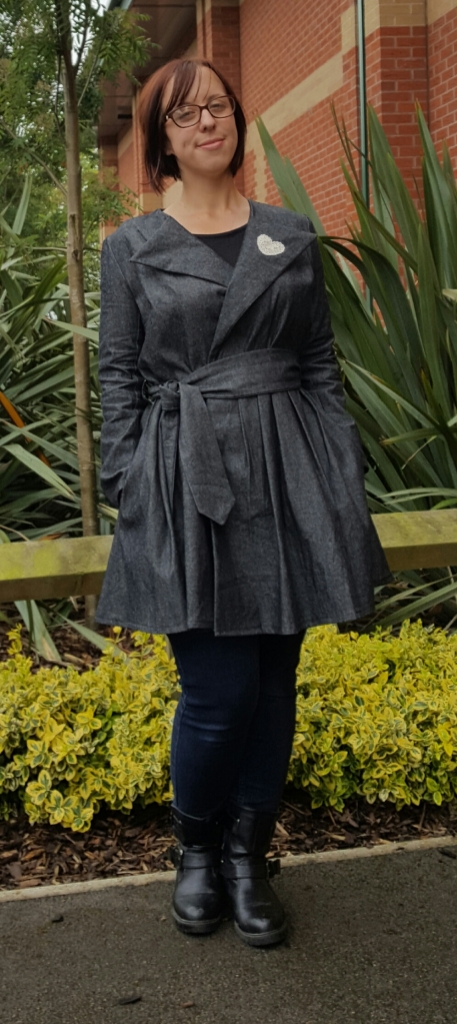
And here were are one Pleated Wrap Around Trench Coat!! I am really proud of this being my 1st ever Coat!! To say I’m wearing double denim it actually works quite well! 🙂

A big Thank you to Whiteree Fabrics for supplying me with the ever so gorgeous Black 100% Cotton Denim and i had some left over Art Gallery Emmy Grace Budquette Nightfall 100% Cotton Voile from My Peter Pan Collar Blouse its really beautiful and soft to touch perfect for giving your hands a bit luxury whilst in pockets!

So remember peeps Sewing is meant to be enjoyable and to have that satisfaction of making your own clothes is awesome so if you do get stuck please get in touch and i can help before you abandon it?
Sal xx


Great tutorial. Love the shape of this coat & the cute floral pockets & heart?
Thank you 🙂
Thank you ?
[…] Sew Pattern Tutorials – Nancy Tunic with Contrast Cuffs, Raglan Dress, Pleated Trench Coat and Lizzie […]
Fab coat, really love it’s in denim and can go with anything and the shape looks great on you. Amazing tutorial too, will bookmark it for when I’m ready to give it a go.
Thank you lynsey! It really is a superb pattern to make your 1st coat as there is no fiddly zips or drawstrings! ?
[…] Person: Rosita’s Jacket, Blue Dot Patterns: French Terry Burda Jacket, The Yorkshire Sewist: S imple Sew Pleated Coat, My Dress Made: Manteau Artemis, The Ruffled Stitch: The Abbey […]
[…] Person: Rosita’s Jacket, Blue Dot Patterns: French Terry Burda Jacket, The Yorkshire Sewist: Simple Sew Pleated Coat, My Dress Made: Manteau Artemis, The Ruffled Stitch: The Abbey […]